With MakePass, you can customize Apple Wallet like never before: create and personalize passes with AI-driven design, advanced editing tools, smart barcode importing, date and location awareness, and much more.
HomeControl is the ultimate HomeKit companion on macOS. Manage and automate your smart home directly from the menu bar: check your home status, trigger scenes, adjust devices, or switch between multiple homes with a single click.
BrowserMask is a Safari Extension that lets you browse websites as if you were using another browser by changing the User Agent Safari uses. This way, you can make any website believe it’s being shown in a browser like Google Chrome or Microsoft Edge.
ChatShare is the missing Share Extension for WhatsApp. It allows you to share text, links, photos & video from any app with share menu support like Safari, Photos or Chrome.
BrowserSwitch is a Safari Extension that can seamlessly open any Safari page in other web browsers like Google Chrome or Firefox. BrowserSwitch supports both opening a page or switching it: opening it on an external browser and closing it in Safari.
for Bluetooth ScalesmacOSiOSiPadOSvisionOSwatchOStvOS
AirWeight connects to your Xiaomi Mi Scale or SANITAS SBF70 Bluetooth scale and reads your weight in realtime, computes your body mass index and body fat percentage and saves the measurements in the Health app.
VoiceExpress lets you transcribe any voice message or audio file. It can convert audio to text in all languages supported by the system dictation service.
InstaMeet is a Safari Extension that transparently and quickly redirects Zoom meeting links to Zoom in-browser web client so you can avoid installing and using the Zoom application.
MenuBot allows you to customize your Mac Menu Bar using shortcuts. Each Menu Bar menu added with MenuBot is powered by a shortcut that is run at a specified interval. The output text of the shortcut is then used to populate the menu. The first line of the output defines the menu icon in the Menu Bar and the rest of the lines are used to populate the menu, which can include symbols, text, action links and submenus.
ShareBot is the missing Share Extension for Shortcuts on macOS. It allows you to run any of your shortcuts on items like files, URLs or text shared from any app with share menu support like Finder, Safari, Twitter or Chrome.
Claude Cowork is a feature of the Claude Desktop app that allows Claude to execute code, manipulate files, and perform complex tasks autonomously. This post documents a deep investigation into how it works under the hood, covering the architecture, security layers, and interesting implementation details.
TL;DR
Claude Cowork runs a full Linux virtual machine locally using native virtualization. Inside this VM, it executes Claude Code CLI within a multi-layered sandbox. Network access is restricted to a strict allowlist, and MCP servers from Claude Desktop are dynamically passed through to the VM. Multiple conversations share a single VM instance, but each gets its own isolated session.
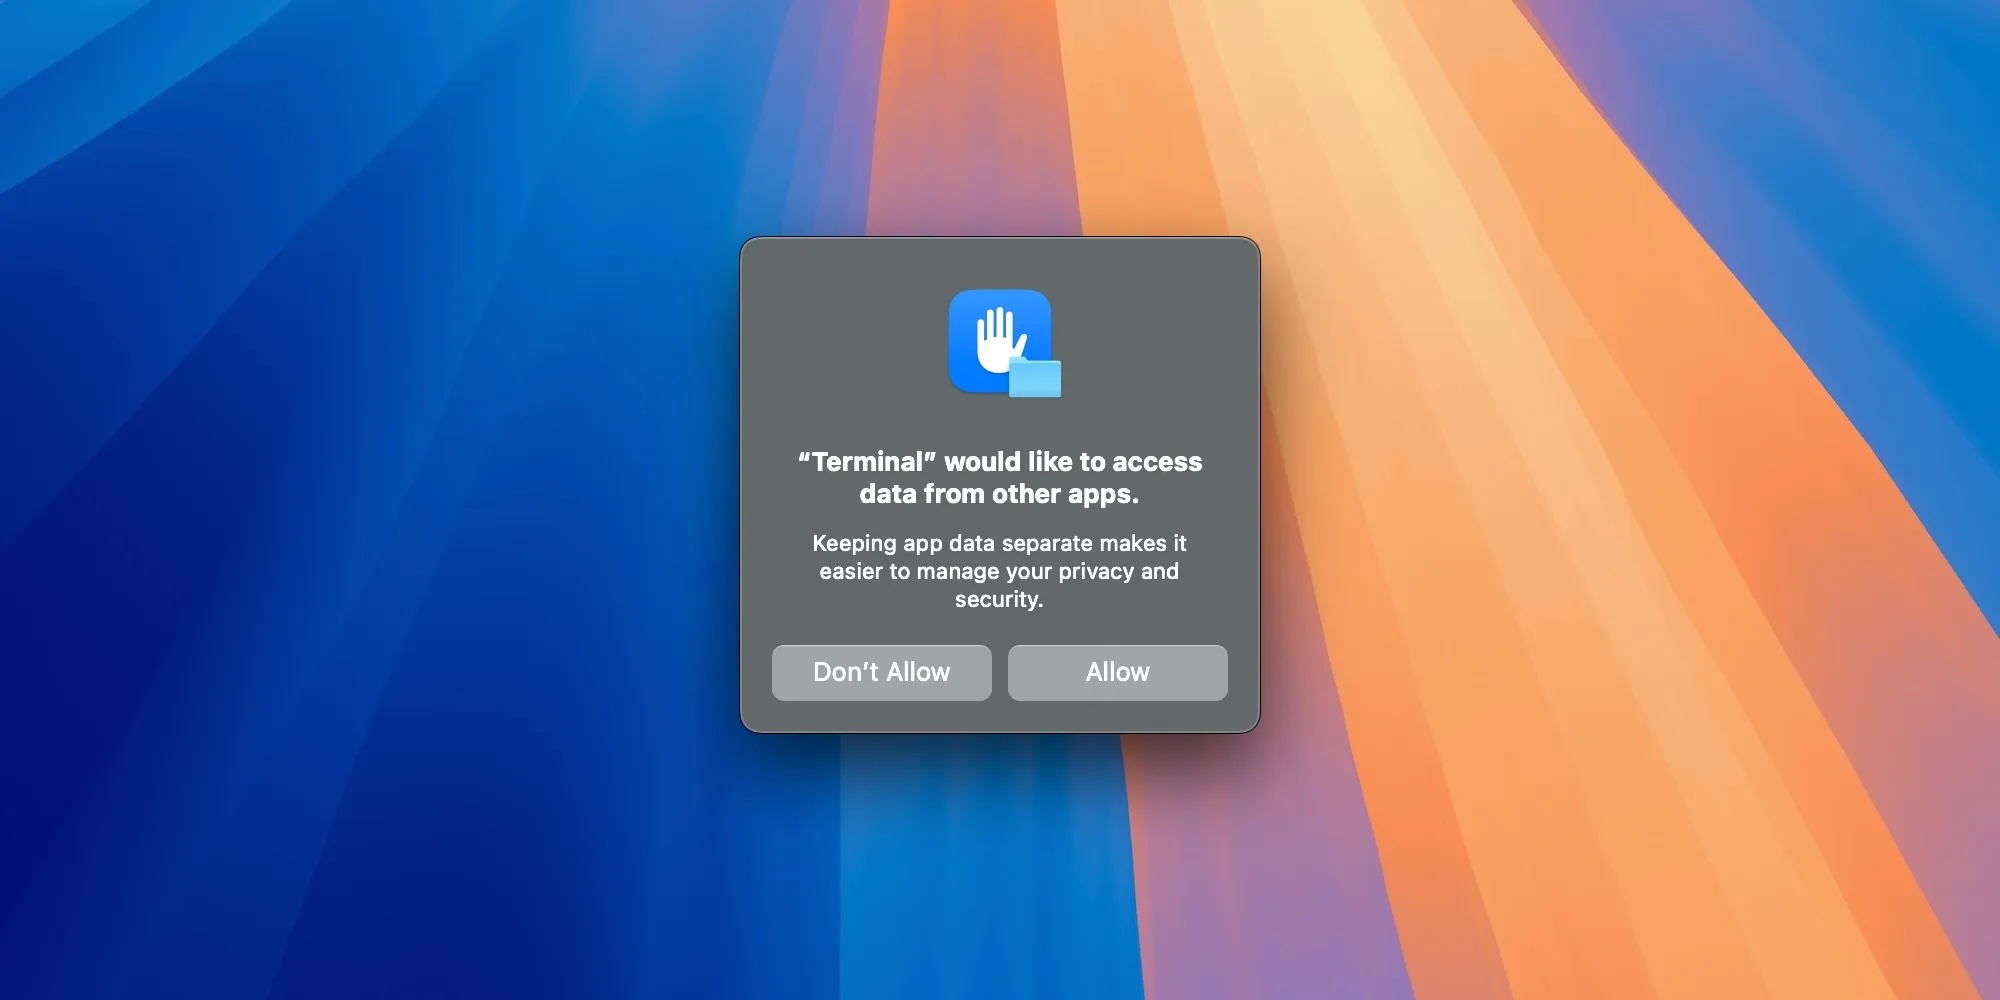
When you start a Cowork session in Claude Desktop, Claude can suddenly run Python scripts, process videos with ffmpeg, create PowerPoint presentations, and more. But how does it actually work? Is it a Docker container? A remote server?
Cowork is currently only available on macOS, so this investigation was conducted on that platform from both sides: from within the execution environment (Claude’s perspective) and from the host system (the user’s perspective), using Claude Code 1.1.799 (2e02b6). The findings reveal a thoughtful and robust architecture.
Architecture
The core architecture consists of three main layers:
The execution environment is a complete Ubuntu 22.04 LTS virtual machine running on ARM64 architecture:
PRETTY_NAME="Ubuntu 22.04.5 LTS"
Linux claude 6.8.0-90-generic aarch64 GNU/Linux
This is not a Docker container or a lightweight sandbox, it is a full VM with its own kernel, managed by Apple’s Virtualization Framework. The VM runs via com.apple.Virtualization.VirtualMachine, the same technology used by tools like UTM and Tart.
Session names are randomly generated using a Docker-container-like pattern: adjective-adjective-scientist.
Resource
Shared?
Notes
/tmp/
Yes
Sessions can see each other’s temporary files
/sessions/<name>/
No
Permissions drwxr-x--- block cross-session access
User (UID)
No
Each active session has its own Linux user (e.g., uid=1002)
Kernel/Processes
Yes
Same VM, same kernel
Network proxy
Yes
Same allowlist rules
This was verified by creating a file in /tmp/ from one session and successfully reading it from another, while attempting ls /sessions/dreamy-optimistic-babbage/ returned Permission denied.
Interestingly, inactive sessions show nobody:nogroup as owner, while the active session has its own dedicated user. This suggests sessions are “depersonalized” when closed.
File Sharing
User folders are shared between macOS and the VM using VirtioFS, Apple’s high-performance paravirtualized filesystem:
This translation is context-aware: it only rewrites paths that are actual file arguments, not string literals in other commands.
Networking
Allowlist
All network traffic from the VM is routed through a local proxy with a strict allowlist. Direct DNS lookups are blocked (socket(): Operation not permitted).
Allowed domains:
Domain
Status
Purpose
api.anthropic.com
200
Anthropic API
pypi.org
200
Python packages
registry.npmjs.org
200
Node packages
Blocked domains:
Domain
Response
google.com
403 Forbidden - blocked-by-allowlist
api.github.com
403 Forbidden - blocked-by-allowlist
Any other domain
403 Forbidden - blocked-by-allowlist
This means Claude can install dependencies via pip and npm, but cannot make arbitrary HTTP requests from the VM—curl to non-allowlisted domains is blocked, and the same applies to the WebFetch tool. However, WebSearch works as it uses the Anthropic API endpoint.
Host-VM Communication
Communication between Claude Desktop (macOS) and Claude Code (VM) uses multiple channels:
The Unix sockets (/tmp/claude-*.sock) are mounted from macOS into the VM via VirtioFS, allowing socat processes inside the VM to bridge network traffic to the host’s proxy.
MCP
One of the most interesting aspects of the architecture is how MCP (Model Context Protocol) servers are integrated. Claude Desktop’s MCP servers are passed to the VM and made available to Claude Code. The MCP configuration is injected via command-line argument:
{"mcpServers":{"ea93ae0e-73b4-4d43-9bb0-2c3720b9d627":{"type":"sdk","name":"..."},"4b26c136-8d30-4046-b6ad-2e41dde789ea":{"type":"sdk","name":"..."},"Claude in Chrome":{"type":"sdk","name":"Claude in Chrome"},"My Custom Server":{"type":"sdk","name":"My Custom Server"},"cowork":{"type":"sdk","name":"cowork"}}}
Official Anthropic integrations use UUIDs as identifiers (e.g., ea93ae0e-... for Atlassian, 4b26c136-... for Slack), while third-party and custom servers use human-readable names. The cowork server is built-in and provides tools like request_cowork_directory and allow_cowork_file_delete.
MCP servers configured in Claude Desktop are dynamically passed through to the VM. When a new MCP server is added to Claude Desktop, it becomes available to Cowork sessions. MCP servers use "type": "sdk" which means they communicate through the Claude SDK rather than stdio pipes, enabling Claude inside the VM to interact with applications running on the host.
Pre-installed Tools
The VM comes with a comprehensive toolkit:
Languages:
Language
Version
Python
3.10.12
Node.js
22.22.0
Ruby
3.0.2
TypeScript
5.9.3
CLI Tools:
ffmpeg/ffprobe 4.4.2 — Video/audio processing
git 2.34.1 — Version control
pandoc 2.9.2 — Document conversion
ImageMagick 6.9.11 — Image manipulation
ripgrep — Fast search
jq 1.6 — JSON processing
sqlite3 — Database
Node.js Packages:
docx — Word document creation
pptxgenjs — PowerPoint generation
pdf-lib — PDF manipulation
sharp — Image processing
Python Packages:
beautifulsoup4 — Web scraping
camelot-py — PDF table extraction
pandas, numpy, matplotlib — Data analysis
Security Implications
The architecture provides strong isolation:
No direct host access: Claude cannot access arbitrary files on macOS, only the explicitly shared folder
Network allowlist: Only package registries (pypi, npm) and Anthropic’s API are accessible; arbitrary web requests are blocked
Syscall restrictions: seccomp limits what system calls can be made
Per-session sandboxing: Each conversation runs in its own bubblewrap sandbox with a dedicated user
DNS blocked: Direct DNS lookups fail; all traffic must go through the proxy
Potential concerns:
Sessions sharing /tmp/ could theoretically leak information between conversations
The VM persists between sessions, so artifacts may remain in shared spaces
This is a significant improvement over running code directly on the host or in a simple container.
Conclusion
Claude Cowork represents a thoughtful approach to enabling AI code execution. By running a full Linux VM with multiple security layers, Anthropic has created an environment that is both powerful (full Ubuntu with extensive tooling) and isolated (VM + sandbox + seccomp + network allowlist).
Key architectural decisions:
Claude Code as the engine: Cowork is Claude Code CLI running inside a sandboxed VM, not a separate product
Single VM, multiple sessions: Efficient resource usage while maintaining per-session isolation
Apple Virtualization Framework: Native ARM64 performance on Apple Silicon
VirtioFS: Fast, bidirectional file sharing with the host
MCP passthrough: Desktop MCP servers are dynamically shared with the VM via SDK protocol
Network allowlist: Permits dependency installation while blocking arbitrary web access
Smart path translation: Seamless UX by rewriting VM paths to host paths in the UI
This architecture allows Claude to perform complex tasks—video processing, document generation, data analysis—while maintaining strong security boundaries. It is a practical solution to the challenge of giving AI systems the ability to execute code safely.
This post includes the details of the first vulnerability I have ever reported to Apple. It was fixed on macOS Sonoma 14.7 and macOS Sequoia 15.0 as CVE-2024-40801.
TL;DR
A vulnerability in macOS allowed a sandboxed app to bypass TCC (Transparency, Consent and Control) protections and access sensitive user data without requiring user permission. By leveraging the container-migration.plist feature, a sandboxed app could request the migration of TCC-protected files (like Safari history, Mail database, or user documents) to its app container, effectively bypassing TCC and giving the app full access to these files. There are multiple examples included in this repository demonstrating the exploit.
Initial Report
Below is the full report as submitted to Apple. You can also check the GitHub repository that includes the example projects to reproduce the vulnerability.
Introduction
A sandboxed Mac app can exploit the container-migration.plist feature to get access to TCC-protected files without any user permission prompt.
For example, you can request the Safari history file or Mail database to be migrated by the App Sandbox to the app container, and it will happily do it. Once the files are in the app container, the app has full control to read and exfiltrate this data.
You can use the attached project to reproduce the exploit (check the demo video at Extra/Videos/ContainerMigrationExploit.mp4):
Steps to Reproduce
Run the script at Scripts/ContainerMigrationExploitReset.sh in a Terminal with Full Disk Access. This script will:
Reset the App Sandbox container of the Exploit app (if it exists).
Reset the TCC permissions of the Expected app that shows the proper expected behavior when accessing the protected files.
Create a demo file in the user Documents folder named my-secret.txt.
Restore & back up the Safari history database (History.db) and Mail recent searches plist (recentSearches.plist). Both of these files are protected by TCC, and reading them requires Full Disk Access as they contain very sensitive data like contacts and the browsing history. The first time the script runs, the restore will fail, but you can ignore it.
Open the Xcode project at Projects/ContainerMigrationExploit.xcodeproj.
Run the Expected scheme: this is an un-sandboxed app that tries to read directly the files that the exploit app will steal. As you see, it triggers the expected TCC permission prompt when reading the my-secret.txt file in the Documents folder, and it also cannot access the Safari history database nor the Mail recent searches plist as they are stored in protected directories.
Now run the Exploit scheme: this sandboxed app is able to read the three files without any issue as they have been migrated by the App Sandbox into the app container.
Expected Results
As demonstrated by the Expected scheme, the app should not be able to access any of the data in the protected directories without user permissions and/or Full Disk Access. Even worse, a sandboxed app is able to get more access to sensitive files than an un-sandboxed app using this technique.
Actual Results
The Exploit app can access sensitive files protected by TCC without any user permission. This same technique can be used to exfiltrate the following data from a fully sandboxed app:
User documents stored in the Documents folder (without any TCC prompt).
Sensitive files in the Library folder:
Safari history & bookmarks.
Full Mail database & contacts.
Other apps’ containers’ data.
…
Annex I
This new version of the project includes a new Mail-app-specific example project in Projects/MailContactsExploit.xcodeproj that demonstrates how you can use this exploit to dump all your Mail contact addresses without any TCC prompt from a fully sandboxed app (demo video at Extra/Videos/MailContactsExploit.mp4).
This same exploit can also be used for a denial-of-service / ransomware attack as the original files (in this example, the Mail database) are deleted by the App Sandbox migration from the original location and are now in full control of the attacker app.
Annex II
Some details about how the exploit seems to work under-the-hood:
The sandboxed app initializes the App Sandbox and connects to the secinitd daemon.
secinitd reads the container-migration.plist file in the app bundle.
As secinitd has the kTCCServiceSystemPolicyAllFiles value in the com.apple.private.tcc.allow entitlement, it can access any protected directory and moves the protected files into the app container.
You can check the related Endpoint Security events from eslogger in the directory Data/EndpointSecurity/.
Annex III
This final version of the project includes a demonstration that this same exploit can also be used to exfiltrate both Calendar & Contacts databases, even though their paths are symlinked inside the app container, by leveraging a custom destination in the container-migration.plist file:
The OpenAI ChatGPT for Mac app stored user conversations in plain text in a non-protected location, making them accessible to any running app or malware. After public disclosure, OpenAI released an update encrypting the conversations but did not implement sandboxing.
Introduction
The OpenAI ChatGPT app on macOS is not sandboxed and stored all conversations in plain text in a non-protected location:
This approach is somewhat typical for non-sandboxed apps on macOS, but a high-profile chat app like ChatGPT should be more careful with user data. For example, Apple started blocking access to user private data 6 years ago with the introduction of macOS 10.14 Mojave. Before that, any non-sandboxed app could access any user file. With macOS Mojave, Apple began requiring explicit user permission to access sensitive files like the Calendar, Contacts, Mail or Messages databases. Later, Apple extended this requirement to the Desktop and Documents directories, and with macOS 14 Sonoma, any file stored by a sandboxed third-party app in its sandbox container is automatically protected. This protection prevents malware or untrusted apps from exfiltrating user data without triggering a permission prompt like this:
Unfortunately, OpenAI opted out of sandboxing the ChatGPT app on macOS and stored conversations in plain text in a non-protected location, disabling all these built-in defenses. This meant that any running app, process, or malware could read all your ChatGPT conversations without any permission prompt.
Example
Here you can see how easily any other app could access any ChatGPT conversation without any permission prompt:
Initially, I reported this issue to OpenAI through their security bug reporting program in BugCrowd, but they marked the report as “Not Applicable” as “in-order for an attacker to leverage this, they would need physical access to the victim’s device.”
As I disagreed with that consideration, I decided to post this issue publicly on Threads & Mastodon to raise awareness and encourage OpenAI to fix this issue and hopefully sandbox the ChatGPT app on macOS. These posts gained attention and were eventually covered by The Verge, Ars Technica, 9to5Mac, and others.
Following these publications, OpenAI finally acknowledged the issue and released ChatGPT 1.2024.171 for Mac, which now encrypts the conversations. The conversations are now stored in a new location:
These files are now encrypted with a key named com.openai.chat.conversations_v2_cache stored securely in the macOS Keychain and the old plain-text conversations are removed after upgrading to the new version. However, the app is still not sandboxed, so the conversations are still stored in a non-protected location, but now at least they are encrypted so other apps can’t read them without user-granted access to the Keychain key.
Interestingly, macOS Sequoia will introduce protections for Group Containers, so non-sandboxed apps like ChatGPT could improve their security by moving sensitive data to a Group Container directory. This way, any other process or app trying to access the data would be blocked by the system, and a permission prompt would be presented to the user.
You can use the MakePass AI service in the MakePass app with the Ultra subscription to create Apple Wallet passes instantly using an input photo or document of a ticket or card:
Introduction to MakePass AI
MakePass is a mighty Apple Wallet pass editor, with it you can create and customize a myriad of passes with complex layouts including images, barcodes, colors and text fields. Now it includes a new service called MakePass AI available with the MakePass Ultra subscription that allows you to create Apple Wallet passes instantly using an input photo or document of a ticket or card. It can even design the pass using a pass description.
MakePass AI uses technologies like text recognition, barcode recognition and Artificial Intelligence powered by OpenAI ChatGPT models to compose Apple Wallet passes from photos or documents of tickets and cards.
Examples
Here you can see some examples of passes generated automatically with MakePass AI from some input image or document: